
This post show how you can extract documents from Dynamics 365 to SharePoint.

Reasons behind the flow:
- Issue with storage space in Dataverse.
- Storage in Dataverse costs money
- Remove third party applications like Attachment Extractor from MSCRM.ADDONS
Prerequisites
- A SharePoint site is created and accessible to the organization is required
- If you use standard SharePoint Integration and activated Document locations for the note table/entity you already have a location to store you documents.
How to set up the flow
Overview of the complete flow

The flow is triggered when a Note is created and when the note is regarding a case, this is specified in the trigger condition.

To see the trigger condition click the ellipsis and go to the settings menu.

At the bottom of the settings page you can add trigger conditions for the flow. Only when the criteria in the trigger condition is met the flow starts to run. The trigger condition for this flow is to extract the attachment related to a note that is created on a case. The reason for the condition is that we want to create a document location to the regarding case and move the document from Dataverse to SharePoint.

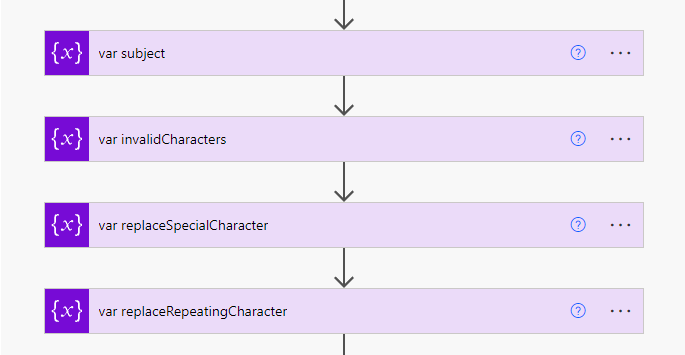
After the trigger, four variables are created. These are used in the process of creating the name of the document location if the case doesn’t have a location from before.
The variables are used in the loop for for replacing special characters in the name of the case. I created a separate post about how this works in the post, Replace special characters in a string with Power Automate.
The next action in the flow is the Try block. This is an action called Scope, which allow you to group actions within a container. The catch block is also a scope action that is configure to run after the Try block if any of the actions within the Try block fails runs, otherwise the Catch block is skipped. More about the image below the screenshot.

Within the Try action I get the case that the note is created on by using the regarding field from the trigger output, triggerOutputs()?['body/_objectid_value']. After that I get the document location on the case by filtering on the document location regarding the case. To see the formulas look at the note on the actions in the screenshot above.
Further on I set the name of the case in the variable subject. The subject variable is used within the Apply to each invalidCharacter loop. The loop replaces all special characters with an underscore which is used to set the name of the document location if it doesn’t already exists.
In the action Formatted Case Guid it is used to set the name for the document location along with the subject variable. The result is a name shown in the screenshot below.

The last action in the Try block checks if a document location already exist on the case.
When the document location exists it moves the documents based on what file type that is attached to the Note. When the document location doesn’t already exist a SharePoint folder is create and a document location in Dateverse is created that gets related to the created SharePoint folder.
More on creating document location and moving document below the image below.
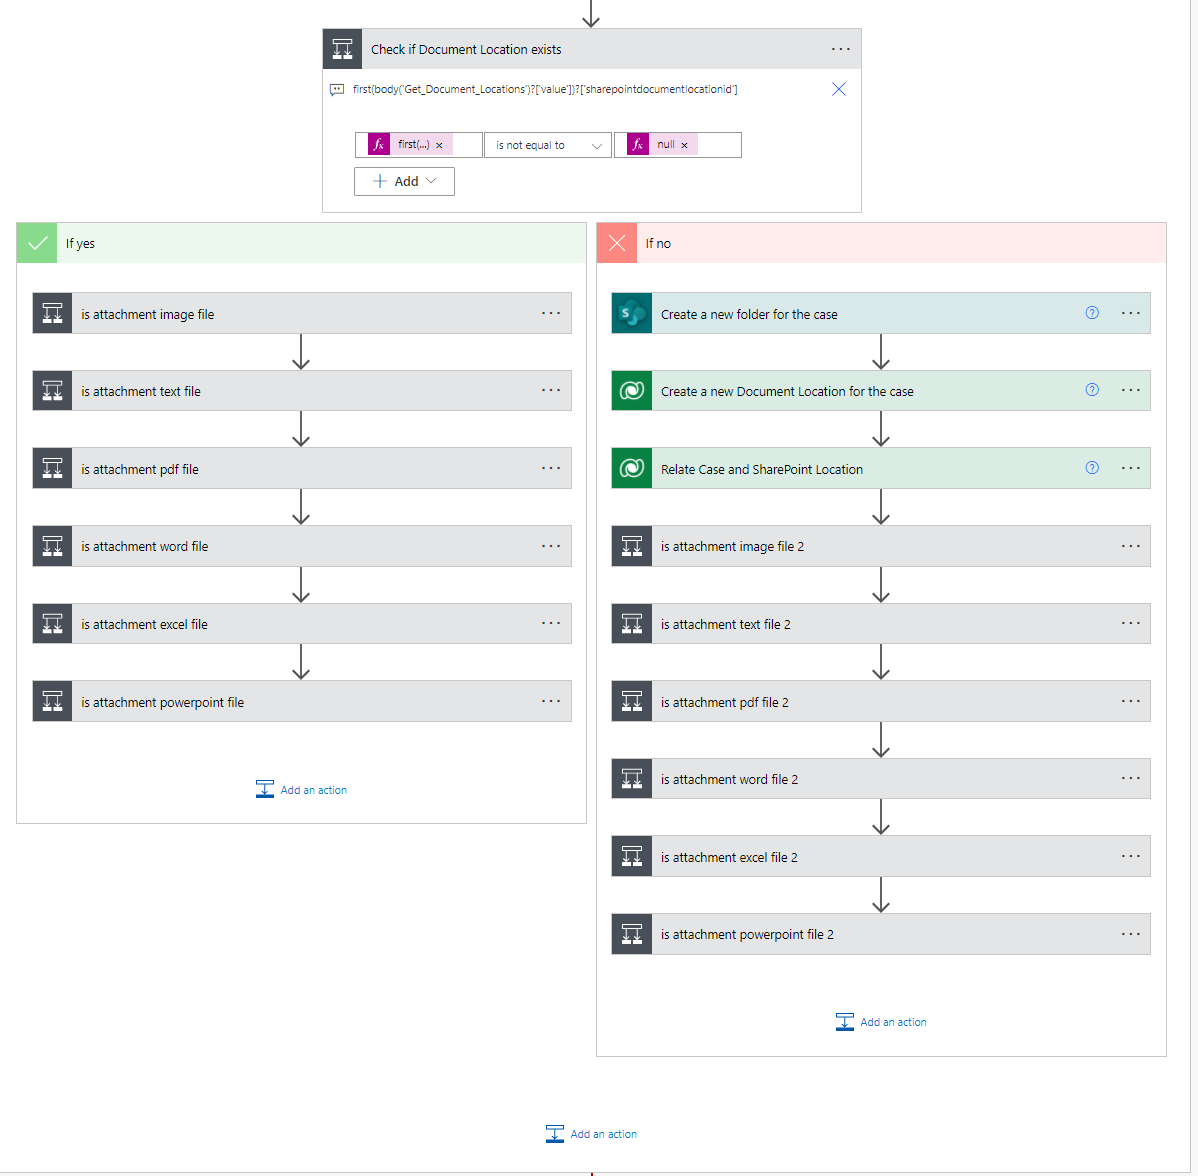
To move a file with a specific type you can use the MIME-type triggerOutputs()?['body/mimetype'] and check what kind of type the attachment it is. To find the value type to check against you can use the trigger output and look for the mimetype field and the value of the document attached. For example the trigger below has a Note with an attachment of type application/pdf attached.

If the file type is of type pdf it goes to “if yes” side and creates the file in the specified SharePoint locations.

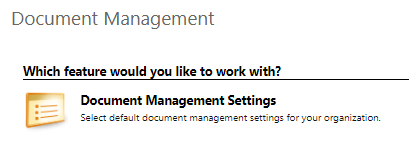
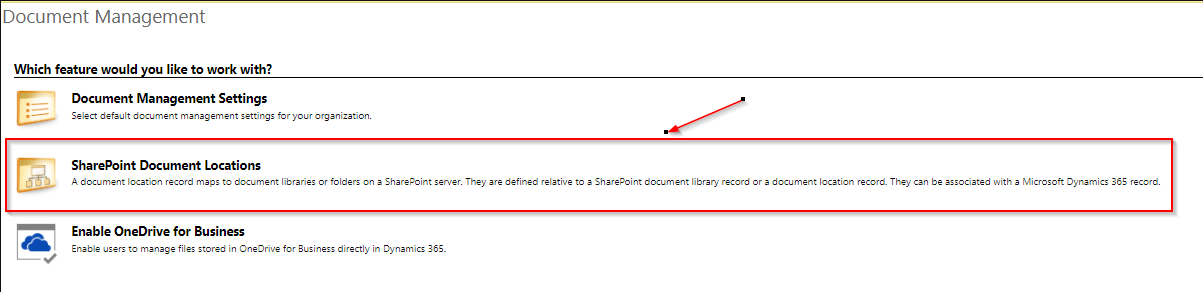
The location can be what you want, but if you have the SharePoint Integration activated in Dynamics I recommend using the same path because if the document location gets created automatically by the SharePoint integration and you store the document another place, it can be confusing where to find the documents. The image below illustrate the SharePoint Document Management settings that can be configured for Dynamics 365.
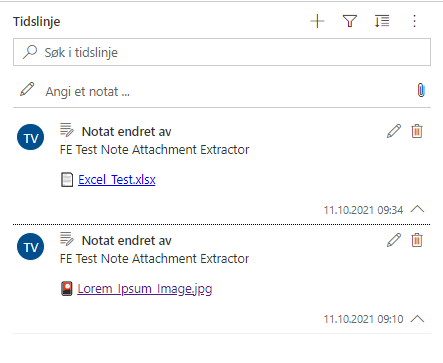
After the document is created a sharing link is created and the description field of the Note gets updated with the sharing link that reference the document that is created in SharePoint.
In the description field of the Note I used html and added an emoji a long with the sharing link to make it look more fun and intuitive what kind of document it is, like below.
If the document location doesn’t already exist we need to create the SharePoint folder for the Case and create a document location reference to the SharePoint location and relate the SharePoint folder and document location.

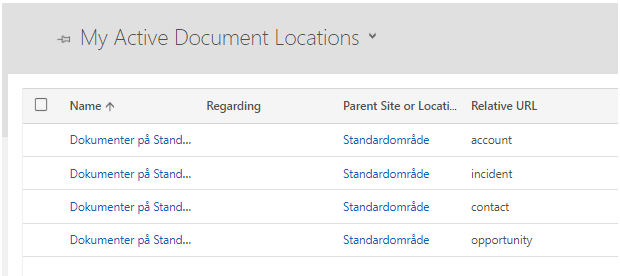
When creating a new document location you need to know what the parent location is stored. You can find that under Settings > Document Management > SharePoint Document Location > A list of all parent document location. (see screenshots below)
To attach the document location to the related table we need to get the Id (GUID) of the parent document location. By opening the Document location with the relative url regarding account:
And look for the id in the url of the document location:
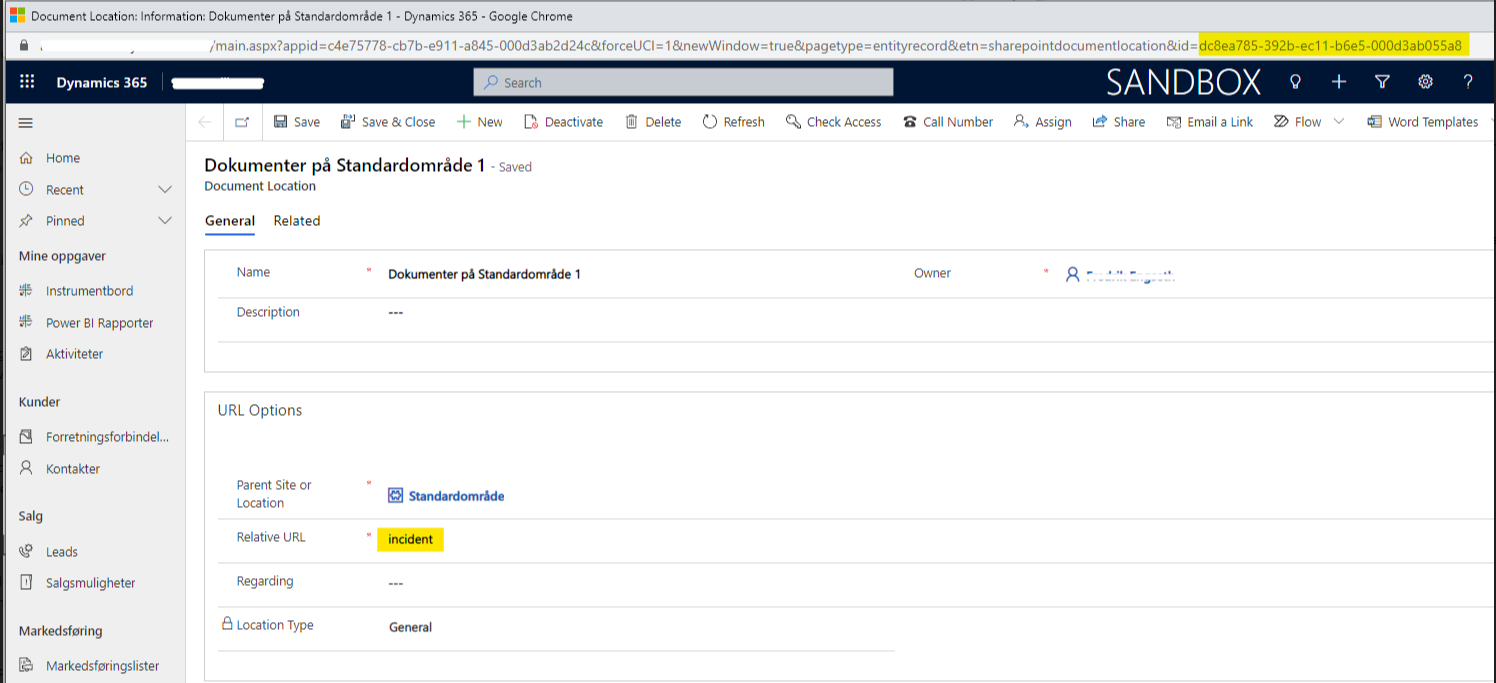
We can then use the id and create a new document location for the case:
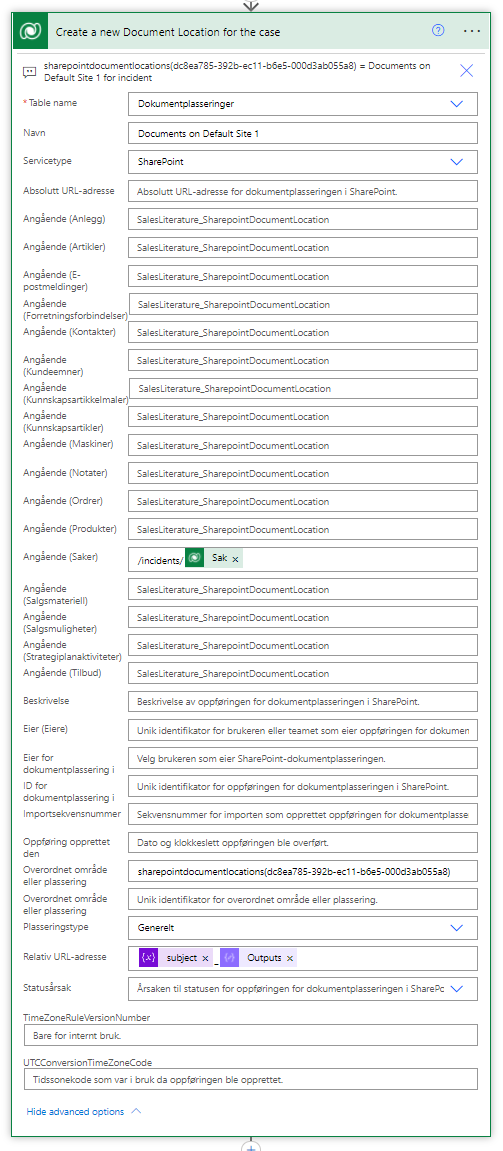
When the Document location is created we need to relate it to the new document location to the case. After that that is complete. The attached document is moved to SharePoint and the note gets updated with a sharing link in the same way we looked at earlier in this post.
Hope you find it useful or inspired to create something cool.
For More Content See the Latest Posts
- Speeding Up Power Automate: Replacing ‘Append to Variable’ with ‘Compose’ for Efficient Workflows
 Discover how replacing ‘append to’ variables with ‘compose’ actions in Power Automate can drastically speed up your flows.
 - Why and How to Implement DevOps?
 Discover how to implement DevOps for faster software delivery, improved quality, and better team collaboration.
 - Quick Tip: Show and Hide Option Set Options in Dynamics 365 with JavaScript
 Learn to dynamically manage Option Set options visibility in Dynamics 365 forms, enhancing UI and user experience in just a quick read.
 - Understanding Dynamics 365 Customer Service Components: Key Features and Benefits
 Learn the concepts of Dynamics 365 Customer Service: Boost satisfaction with case management, knowledge bases, and multi-channel support.